Tuesday, June 10, 2014

DIY Wreaths

So I've been wanting something to decorate my front door for a while now, but I could not bring myself to buy an $80 or more wreath. Naturally, I decided to make my own. Turning again to Pinterest for inspiration, I found a few designs I liked and went to my local specialty store. I chose to make a spring/summer and a fall/winter wreath. 

Here is my spring/summer wreath. The "C" was a Christmas gift from my parents a few years back, but I think it came from Hobby Lobby.


What you'll need:
  • Grape vine wreath
  • Silk flowers of your choosing 
  • Floral wire
  • Floral tape
  • Diagonal Cutters
  • Needle Nose Pliers
  • Scissors
  • Ribbon (optional)


The Project

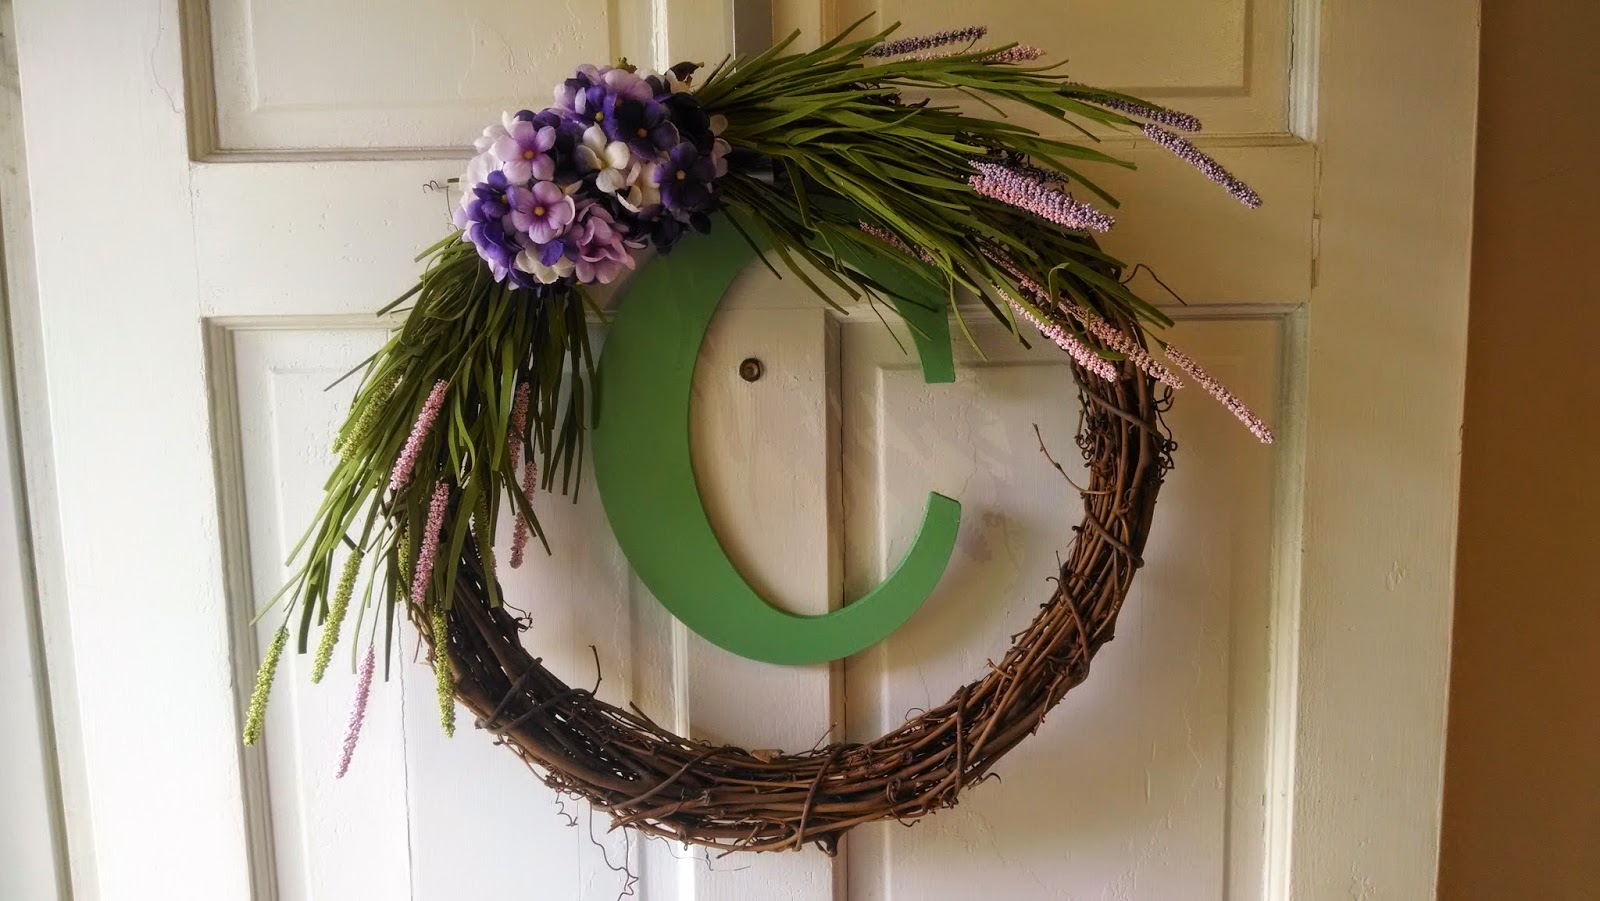
 Spread out at a chosen work surface, I opted for the living room floor. Have a trashcan near by for loose wire and stem disposal. You don't want to be vacuuming later this week and run over spare wire that didn't make it into the bin, trust me. 

Take your first grouping of flowers and position them about where you want them to be, so you can measure for excess.


Pro tip: sticky side down
Tape off above where you will be cutting with the floral tape. My flowers had multiple stems, you can skip if you don't need it. Then take your cutters and remove the extra. Please don't destroy your scissors on these bad boys. They have a wire core.


Take your wire and run it through the wreath, about midway. Secure your flowers with a simple twist and pull it tight to flatten it out. Cut off the extra.


Repeat the process with your other grouping of flowers.


Just not too short. About the thickness of the wreath.
Next, take your flowers for the middle bunch and trim them, so they aren't too cumbersome. Arrange them how you like, then secure them with wire. Then run another piece of wire through the grouping. Use this wire to attach the flowers to the wreath as you see fit. I attached mine to the inside of the wreath.


And voila! You have a wreath for much cheaper and it's personalized. This project cost me around $50 for both wreaths. If you want to attach a letter, use the ribbon from the supplies list. There was already a nail on my door, so I just hung it from there. 

Saturday, May 24, 2014

Spray Paint Art

I've been looking for some ideas on how to decorate our apartment, since it's still kind of bare when it comes to wall art and I found this idea for our bedroom.


What you'll need:

- Canvas Panels (I used the 16x20 three pack)
- Spray Paints
- Foliage of your choosing
- Saw Tooth Hangers 
- Hot Glue


Prep Work


Lay your canvases out for their bottom layer of paint. This will be the color your leaves or flowers show as. I chose to go with a nice metallic silver that I happened to have left over from another project. It took about three coats to get the coverage I really wanted.


Exploring

We decided to take a trip down to our local park to look for our plants, but if you don't have the time you can always head to your local craft store. Should you decide to go with live plants, make sure to use them that day or the heat will wilt them. The poor Mimosa branch we were going to use closed up before we could paint with it. 

 Pro-tip: don't take more than you need and don't do serious damage to the tree. Make clean cuts. 


Painting

Now that you have all your supplies, it's time to get to the main part of the project. Lay your plants out as you see fit. All the leaves we decided to use were a bit clustered, so I cut about half the leaves off each branch for each panel. 

You can use pebbles to hold the leaves down, so they don't fly all over the place as you paint. I didn't have this brilliant idea till the last panel, but the effect looks pretty good. 

Once you've finished painting over the leaves, carefully remove the pebbles (if you used them) and the leaves from the canvas. Leave the panels out to air and don't fumigate your home. 


Hanging Your Art

I had some saw tooth hangers left over, again from another project and just hot glued them to the back of each panel. Make sure to carefully measure each panel before placing the hanger. Just because it says it's 16x20, doesn't mean it really is.

Thursday, May 16, 2013

Basic Pointillism


I was browsing Pinterest and came across this tutorial for making a string chandelier, but it wasn't the chandelier that caught my eye, but the painting in the background. I knew I had to recreate it, because let's face it, the apartment is pretty bland right now.

  I tried to track down the owner, but the URL 
 couldn't be found. If anyone knows the blog,
let me know so I can properly site them.


What you'll need:

- Canvas
- Paints
- Brushes
- Paper
- Pencil
- Pallet


Prep Work

To start, you'll need to paint your canvas with whatever background color you've chosen. Green is my favorite, plus it goes with the spring like theme I'm trying to create. You really only need three colors for this work: white, black, and your main color (green). The main color can be changed based on your shape. Even the leaves I could see as red or orange for fall. Maybe a blue background with white leaves, if you want a more winter look.


While you wait for the background to dry, go ahead and grab your paper. With a pen or pencil, draw out the shape that you're going for. I chose leaves, creating two sizes for variation. For symmetry's sake, fold the paper in half to create a mirror image, rather than free handing the whole thing.

Stars would be another cool idea. Maybe elephants!

Once the canvas is dry and you have your shape of choice, take a pencil and trace your stencil onto the canvas. Go crazy! It doesn't have to be perfect. I wanted mine to look like a tree, so I made sure there was a certain flow to the leaves.

Don't worry about the pencil lines, they should be covered up by your paint.


Painting

Now the fun, yet tedious part, painting your shapes!

Mix your colors on your pallet. I just used a plate and mason jars, because that's just how I roll. Dip the eraser end of your pencil into the paint and go to town. 


 This is what the finished product will look like, ish. It really depends on your color choice, shapes, spacing...etc. 


Friday, May 3, 2013

Unity Painting

I've only been to a few weddings in my lifetime, but I was never a fan on the Unity Sand ceremony. It just seems like a bad idea to me. What if the cork comes out or you knock it off the shelf while cleaning sometime in the future? As a klutz, I can't trust myself with glass figurines, especially something that would become so priceless. Which brings me to the Unity Painting, same thought process, but its art work for your new home! 


What you'll need:
  • Canvas, any size you like
  • Stand
  • 2 acrylic paints of your choice (remember they're going to be combined)
  • Jars
  • Paint tray
  • Water

If you want to get fancy with it:
  • wax paper
  • painters tape
  • printer
  • paper
  • scissors 

So what do I mean by "get fancy with it?" Rather than just the plain paint, the fiancee and I decided to place tape cut outs on the canvas to peel off after the paint had dried. If you don't want to do this, skip ahead to the next section.

To do this, you'll need to take a sheet of wax paper and cover the waxy side with the painters tape, overlapping the strips to prevent gaps. I made mine about the size of an 8" x 11" piece of computer paper.


You can skip this part if you like, but to make it easier to shape the lettering I created a Word document with the text I wanted. The bolder the font, the better!


Its easier to leave the longest, straightest line on each one for last

Now for the back/neck aching portion, lay the printed sheet over the wax paper and cut out the lettering. I decided to leave the middle parts of numbers and letters, like "6" or "e," but that's totally up to you.

Artistic Preference

Before you peel off the wax backing, place your lettering where you think its best. Go ahead and use a ruler to mark a base line in pencil. It might take a while, but peel off the wax backing and place the letters/numbers as you like. Try not to touch the sticky side of the tape too much.

Now that the hard part is done, run your finger over the lettering to make sure its good and secure. Can't have the paint running under it.


 I used tweezers

Tah-dah! Your unity painting is now prepped for your big day: wedding or art project, either way!


Core of the Project


Set your canvas up on its stand with a paint tray (cardboard box) underneath. Make sure the canvas isn't touching the prongs, as it will create weird lines at the base of your art.

Mix your paint with an appropriate amount of water in their respective glass jars. You'll want the paint to be very runny for this, so just experiment till you find the consistency you like. We ended up doing a 50/50 mix to get the acrylic to not clump.


With someone holding the canvas steady, pour the paint at the top of the canvas, overlapping the colors so they mix. Now all that's left is to let your masterpiece dry, which could take a few days, depending on how thick your paints are.

Once its dry, peel off the tape! I used tweezers for this.


Voila! New art work!

This one is our test run before the big day. We figured why not create a matched set. The one from our wedding will have our last initial on it. 

Update: 

So, I didn't really like the original colors that I had used and decided to redo this project.


Rather than use a blank canvas, I placed the lettering as described above, but then I painted the canvas a nice chocolate brown. This insured that the lettering would show up better once the tape was peeled off.


 The best part is, no one will see the tape this way!