Tuesday, June 10, 2014

DIY Wreaths

So I've been wanting something to decorate my front door for a while now, but I could not bring myself to buy an $80 or more wreath. Naturally, I decided to make my own. Turning again to Pinterest for inspiration, I found a few designs I liked and went to my local specialty store. I chose to make a spring/summer and a fall/winter wreath. 

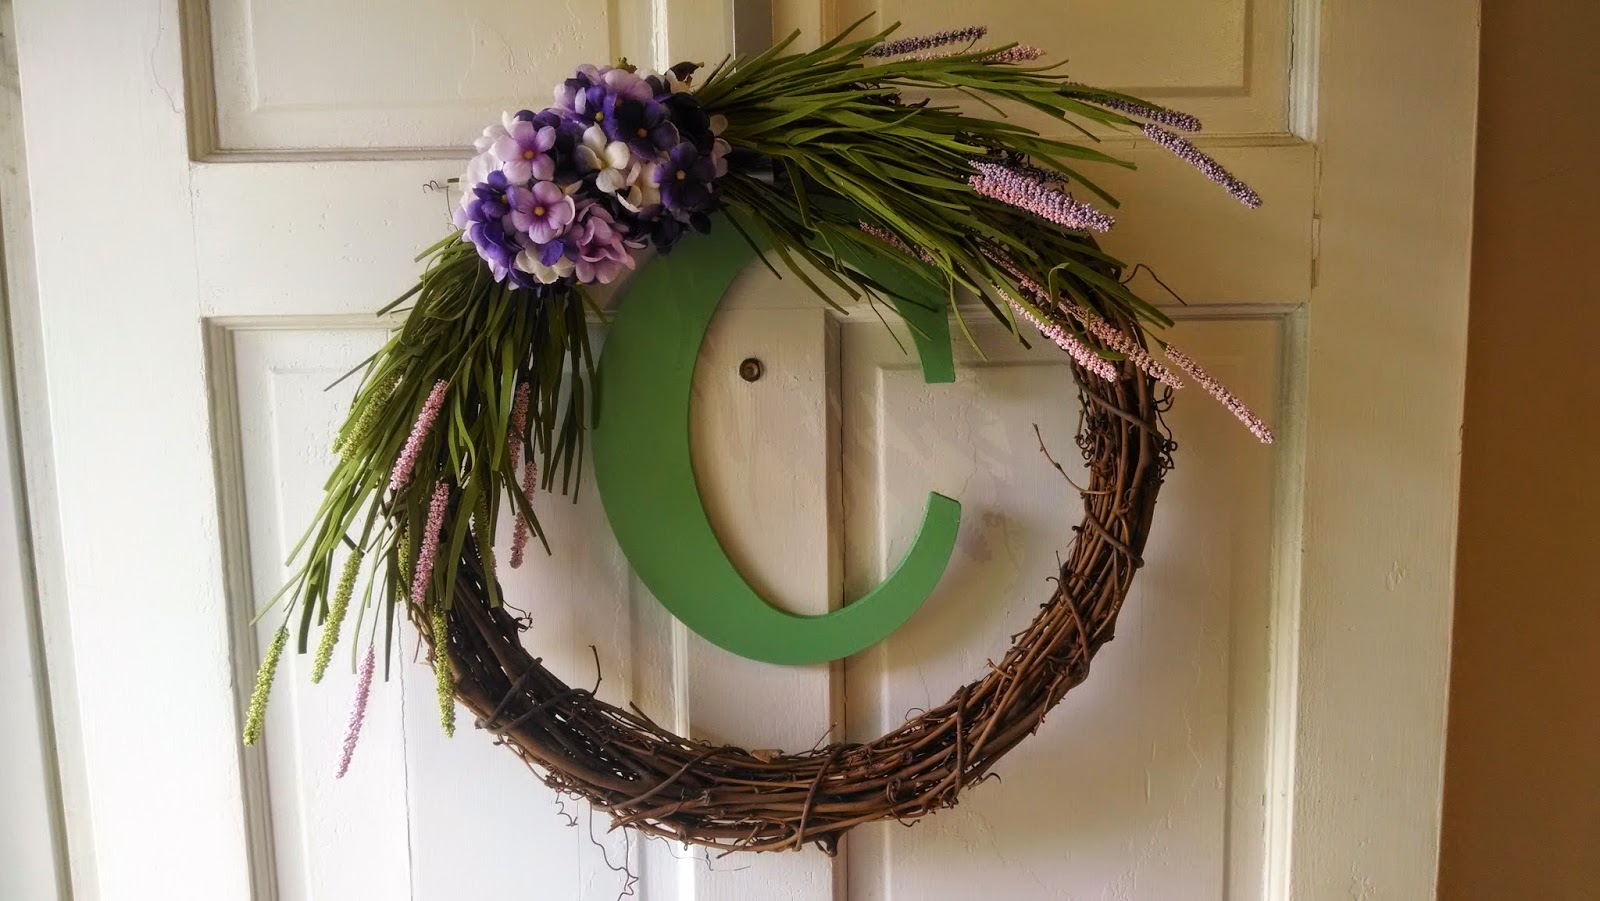
Here is my spring/summer wreath. The "C" was a Christmas gift from my parents a few years back, but I think it came from Hobby Lobby.


What you'll need:
  • Grape vine wreath
  • Silk flowers of your choosing 
  • Floral wire
  • Floral tape
  • Diagonal Cutters
  • Needle Nose Pliers
  • Scissors
  • Ribbon (optional)


The Project

 Spread out at a chosen work surface, I opted for the living room floor. Have a trashcan near by for loose wire and stem disposal. You don't want to be vacuuming later this week and run over spare wire that didn't make it into the bin, trust me. 

Take your first grouping of flowers and position them about where you want them to be, so you can measure for excess.


Pro tip: sticky side down
Tape off above where you will be cutting with the floral tape. My flowers had multiple stems, you can skip if you don't need it. Then take your cutters and remove the extra. Please don't destroy your scissors on these bad boys. They have a wire core.


Take your wire and run it through the wreath, about midway. Secure your flowers with a simple twist and pull it tight to flatten it out. Cut off the extra.


Repeat the process with your other grouping of flowers.


Just not too short. About the thickness of the wreath.
Next, take your flowers for the middle bunch and trim them, so they aren't too cumbersome. Arrange them how you like, then secure them with wire. Then run another piece of wire through the grouping. Use this wire to attach the flowers to the wreath as you see fit. I attached mine to the inside of the wreath.


And voila! You have a wreath for much cheaper and it's personalized. This project cost me around $50 for both wreaths. If you want to attach a letter, use the ribbon from the supplies list. There was already a nail on my door, so I just hung it from there. 

Saturday, May 24, 2014

Spray Paint Art

I've been looking for some ideas on how to decorate our apartment, since it's still kind of bare when it comes to wall art and I found this idea for our bedroom.


What you'll need:

- Canvas Panels (I used the 16x20 three pack)
- Spray Paints
- Foliage of your choosing
- Saw Tooth Hangers 
- Hot Glue


Prep Work


Lay your canvases out for their bottom layer of paint. This will be the color your leaves or flowers show as. I chose to go with a nice metallic silver that I happened to have left over from another project. It took about three coats to get the coverage I really wanted.


Exploring

We decided to take a trip down to our local park to look for our plants, but if you don't have the time you can always head to your local craft store. Should you decide to go with live plants, make sure to use them that day or the heat will wilt them. The poor Mimosa branch we were going to use closed up before we could paint with it. 

 Pro-tip: don't take more than you need and don't do serious damage to the tree. Make clean cuts. 


Painting

Now that you have all your supplies, it's time to get to the main part of the project. Lay your plants out as you see fit. All the leaves we decided to use were a bit clustered, so I cut about half the leaves off each branch for each panel. 

You can use pebbles to hold the leaves down, so they don't fly all over the place as you paint. I didn't have this brilliant idea till the last panel, but the effect looks pretty good. 

Once you've finished painting over the leaves, carefully remove the pebbles (if you used them) and the leaves from the canvas. Leave the panels out to air and don't fumigate your home. 


Hanging Your Art

I had some saw tooth hangers left over, again from another project and just hot glued them to the back of each panel. Make sure to carefully measure each panel before placing the hanger. Just because it says it's 16x20, doesn't mean it really is.